How to Install the Cummins INLINE 7 Data Link Adapter Drivers
You have to install the Cummins INLINE 7 Data Link Adapter drivers before using it. Cummins INSITE 8.3 software which works with Cummins INLINE 7 support Win7 and Win10.
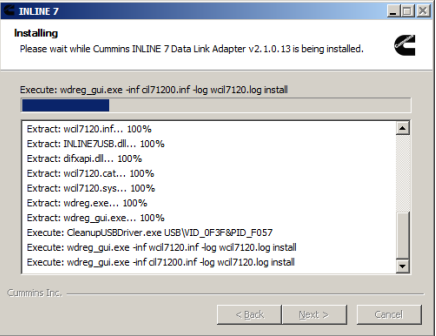
There are 9 steps to navigate, please follow on step by step.
1. Please download software at first:
https://mega.nz/#!XnwzFTLR!MtAloZTilHTtikrwrjoNYyrUOZ3bBKovdltoOJ9f868
2. Extract zip and Double-click on the setup.exe file to run the install.
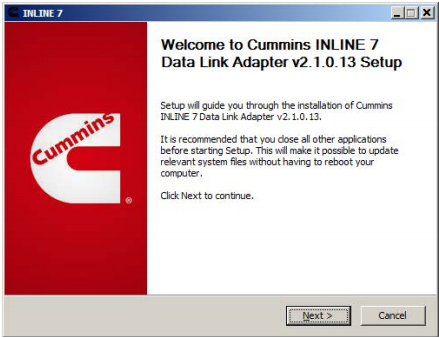
3. The Welcome to INlINE7 Setup screen is displayed and please carefully read the information to follow the recommendations. Then click Next.
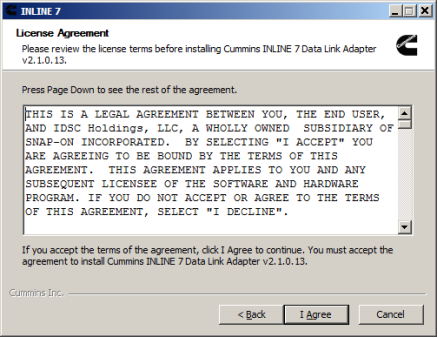
4. Read all the all information on this screen, then click I Agree
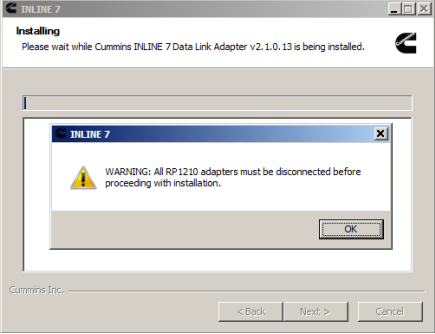
5. Carefully read the warning message, and disconnect all RP1210 adapters to which your laptop or PC might be connected prior to proceeding with the installation.
6. Once you have complied with the requirements of the warning message, click OK to continue.
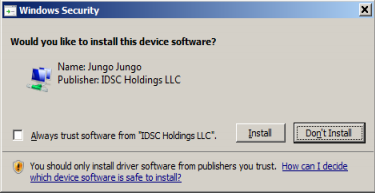
7. If you are running Windows 7 or Windows 8, the following Windows Security dialog may be displayed. Click install to continue.
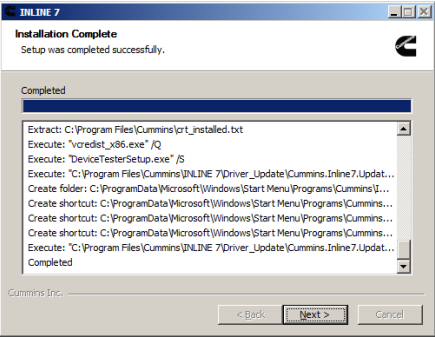
8. Click Next when the Installation Complete screen is displayed.
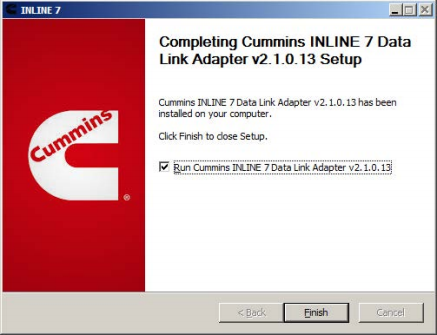
9. Click Finish to finish installing
Cummins INLINE 7 Data Link Adapter driver has been installed on your computer that you can use all services of Cummins INLINE 7 on your vehicle.
The screen shots may not the newest version, but they have the same process.
The newest info about Cummins INLINE7 Data Link Adapter:
http://www.uobdii.com/wholesale/cummins-inline-7-data-link-adapter.html

