How to install Scanmaster-ELM for FVDI J2534 on win XP 7 10?
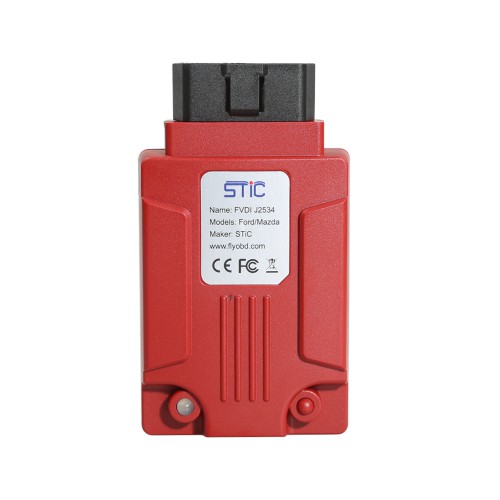
ScanMaster-ELM is tested 100% OK to work with FVDI J2534 to realize the same diagnostic functions as with ELM327 interface.
What is ScanMaster-ELM?
As known, ScanMaster-ELM is a OBD-2/EOBD diagnostic scan tool for vehicle diagnostics under OBD-II/EOBD standards that were developed specifically for the ELM327 chip from the company ELM Electronics and supports all 10 in SAE J1979 defined OBD-2 diagnostic modes $01 – $0A and all communications protocols.
ScanMaster -ELM language: English, Spanish & French
Update:
If there is newest update file available, please download on the official site: http://flyobd.com/shop/download-center/ and updates are free of charge.
Procedure
OS: win XP 7 10
Step 1: Set up PCMscan ScanMaster -ELM
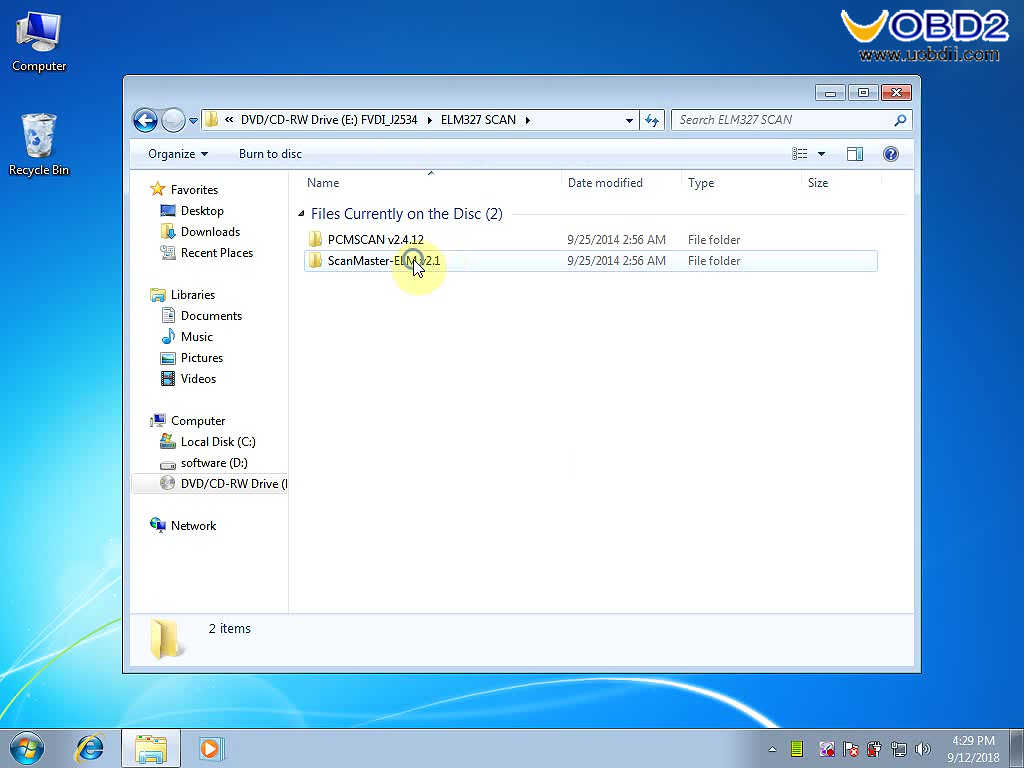
Open CD, then “ELM327 Scan”, then “ScanMaster -ELM v2.1”.
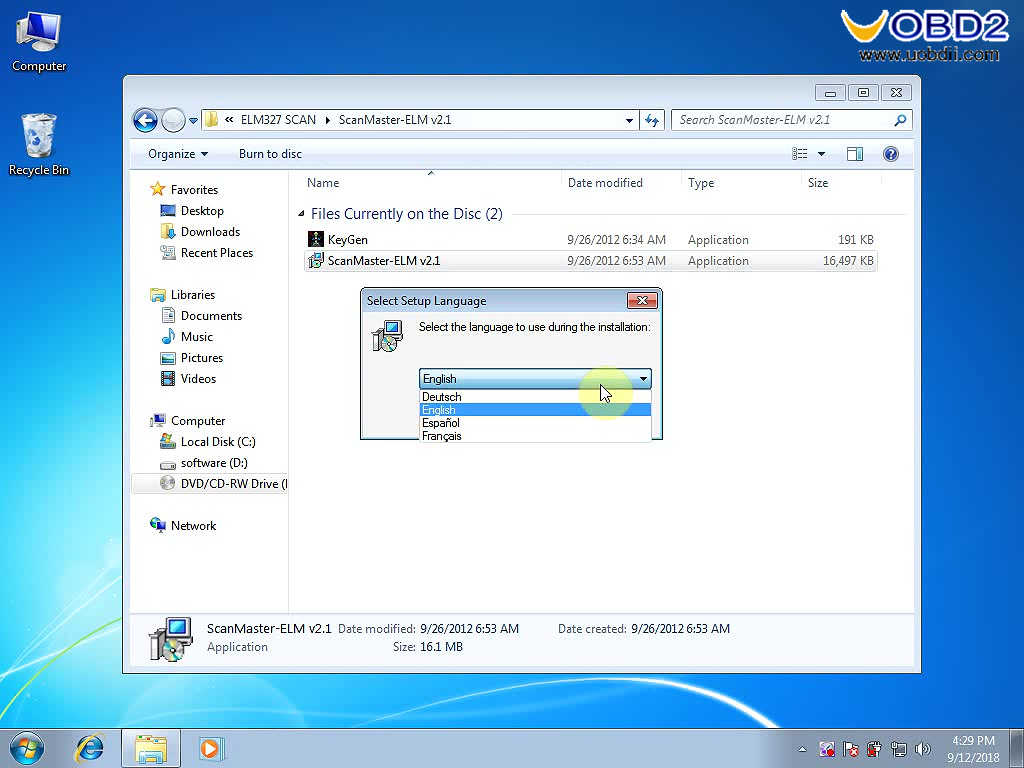
Choose ScanMaster -ELM language: English, Spanish or French.
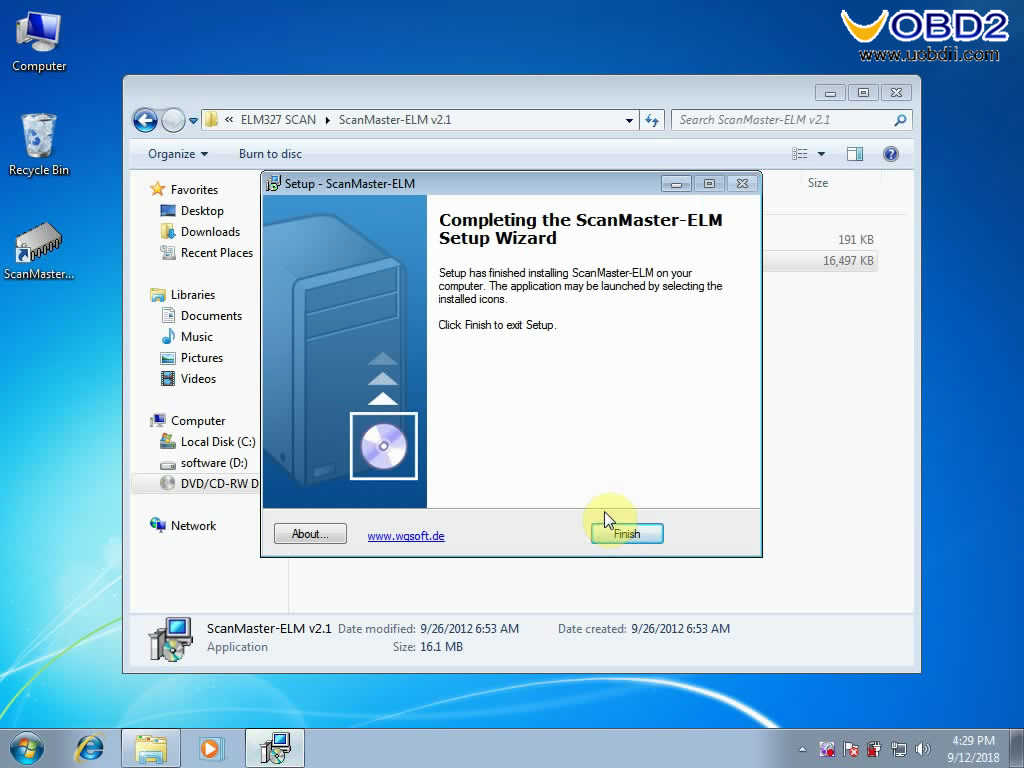
Follow the prompt to click next until completing the ScanMaster -ELM setup Wizard.
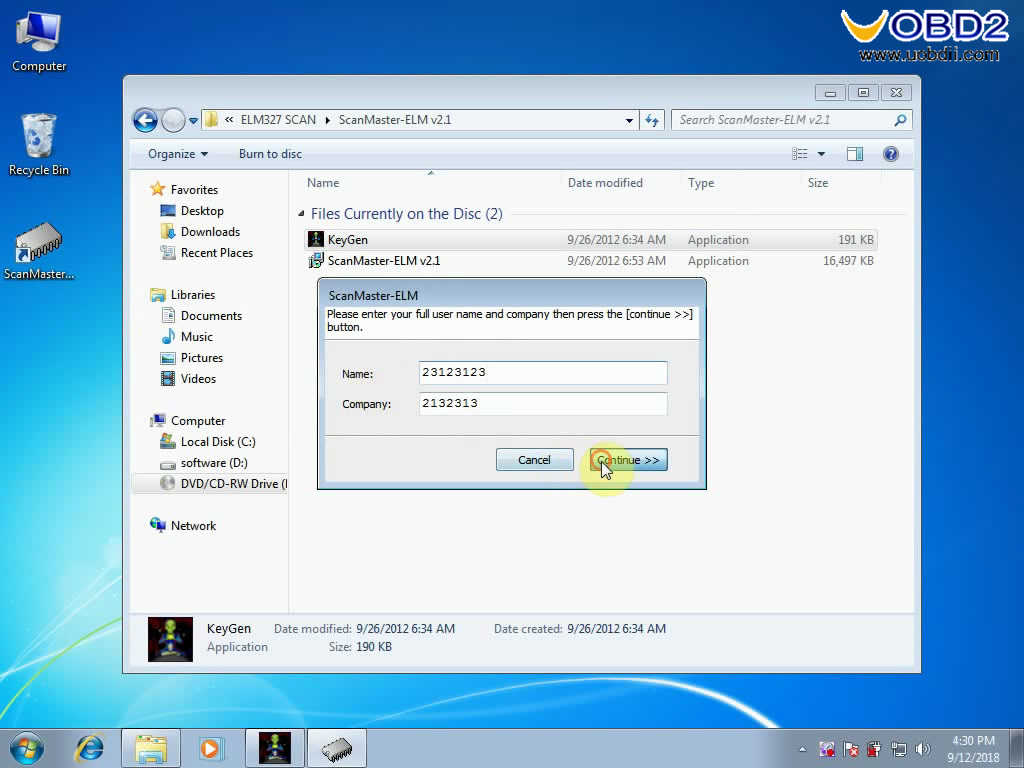
Click on the ” ScanMaster-ELM” on the desktop, fill in the name and Company.
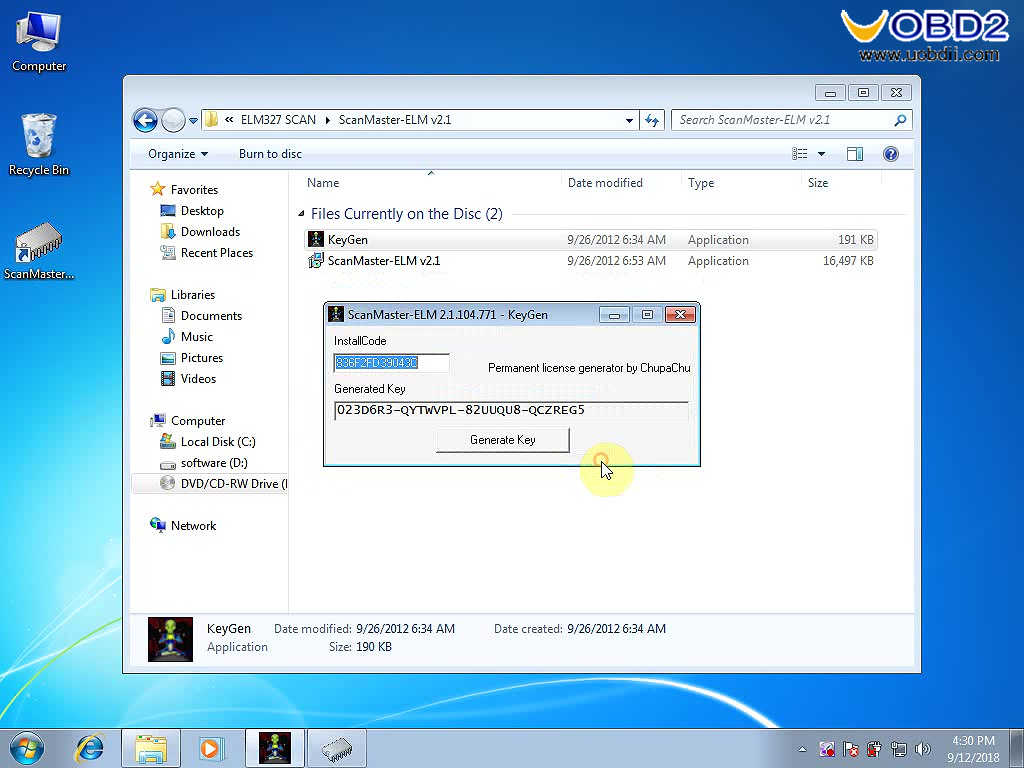
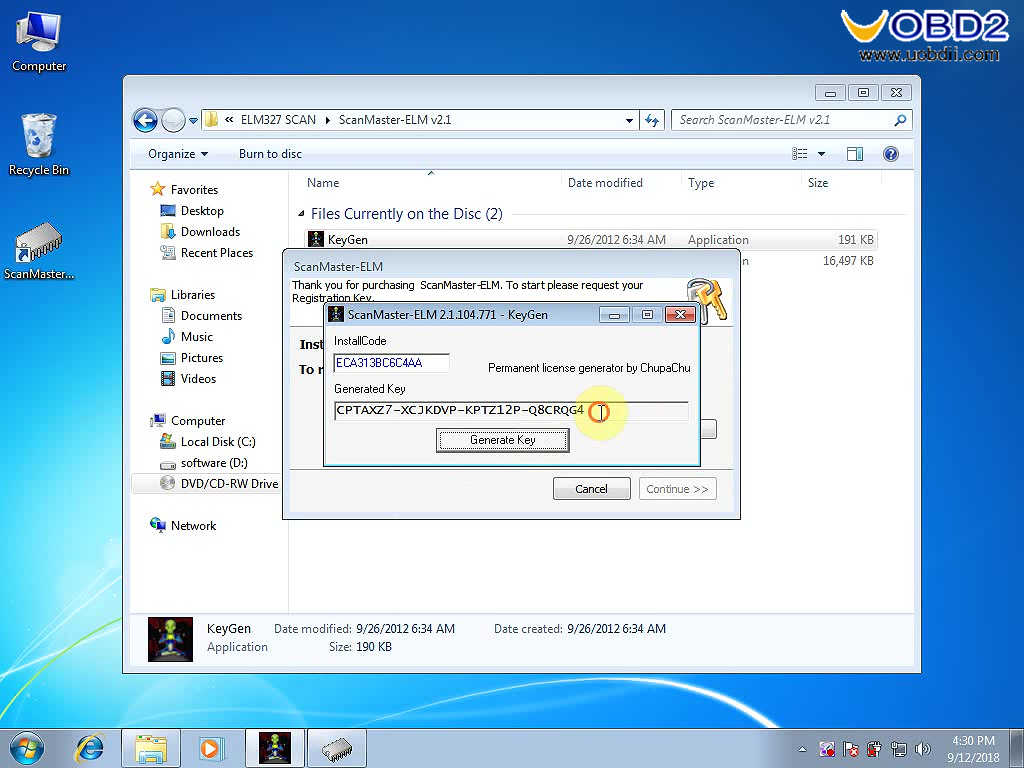
Copy the install code and paste it into the keygen to generate key.
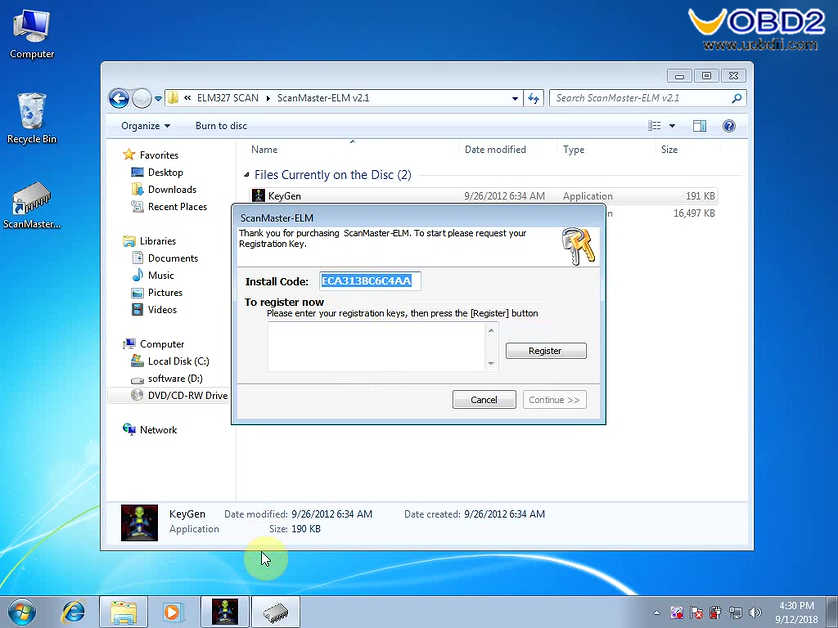
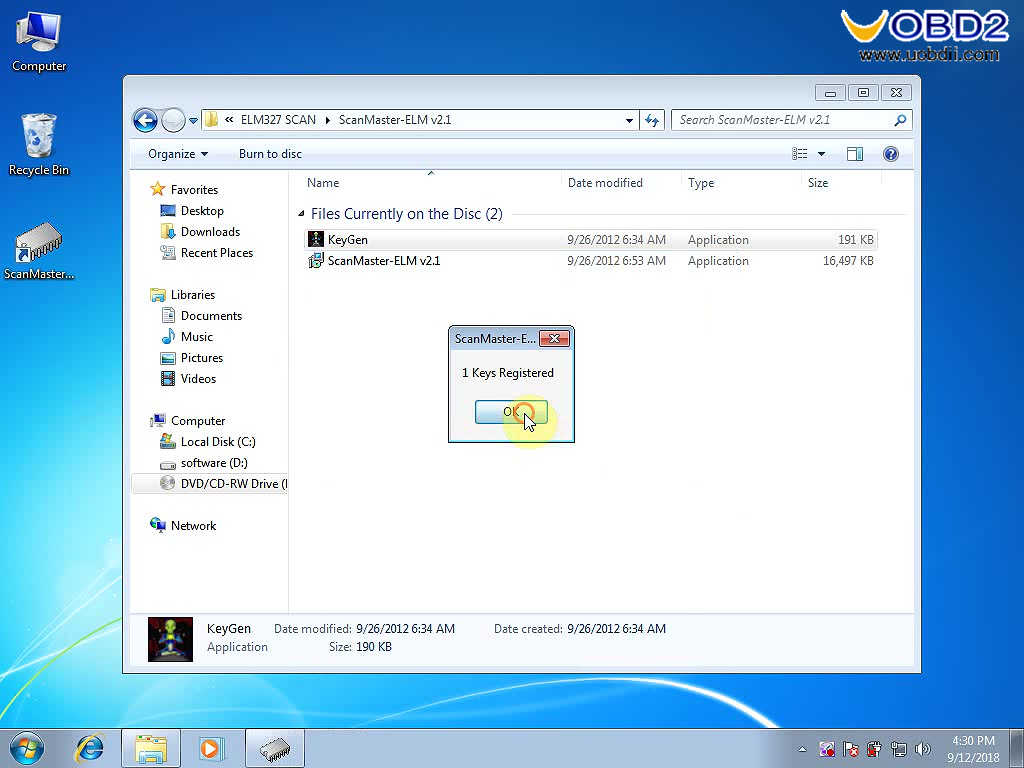
Copy the registration key and press [Register].
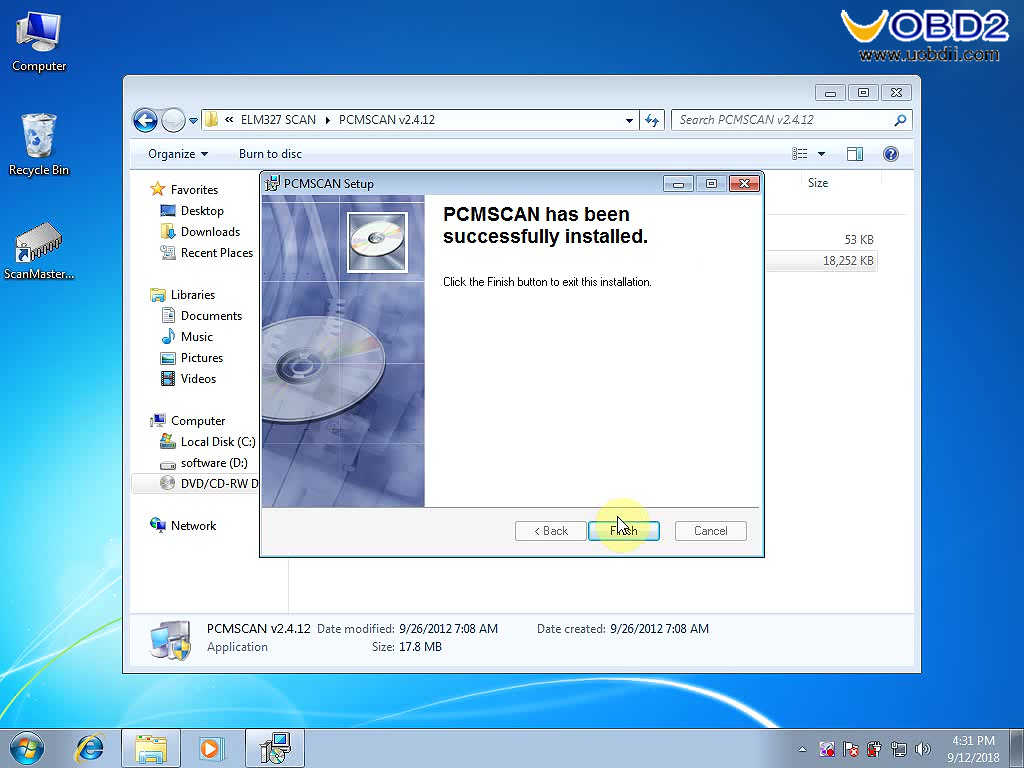
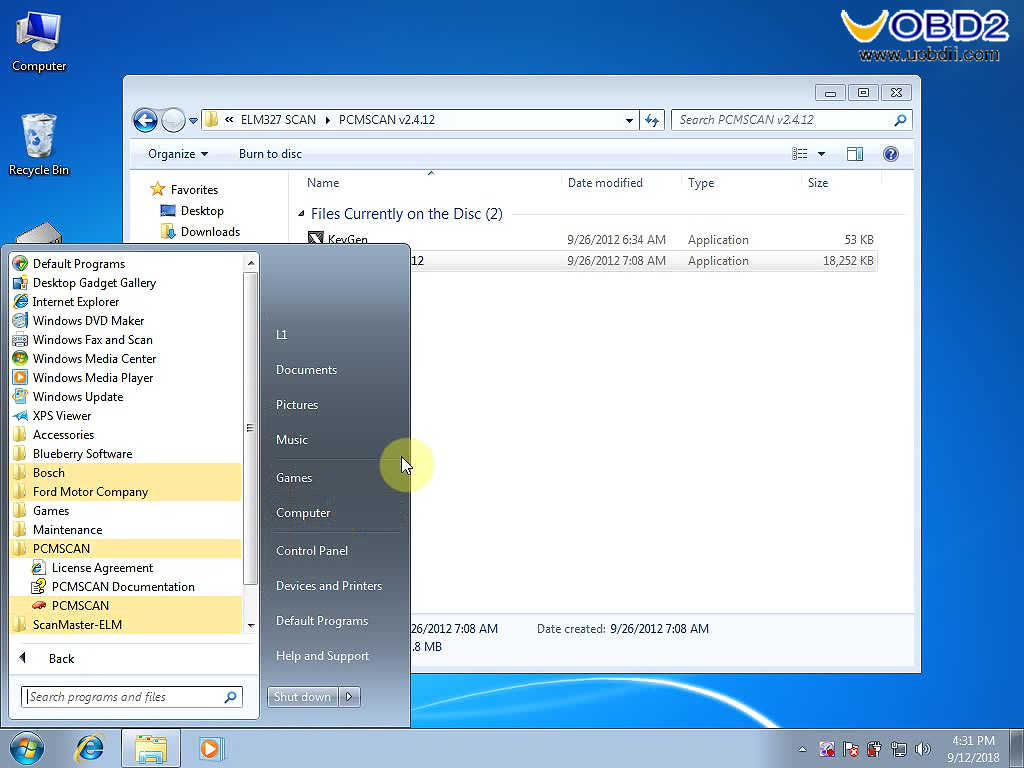
Step 2: Set up PCMscan
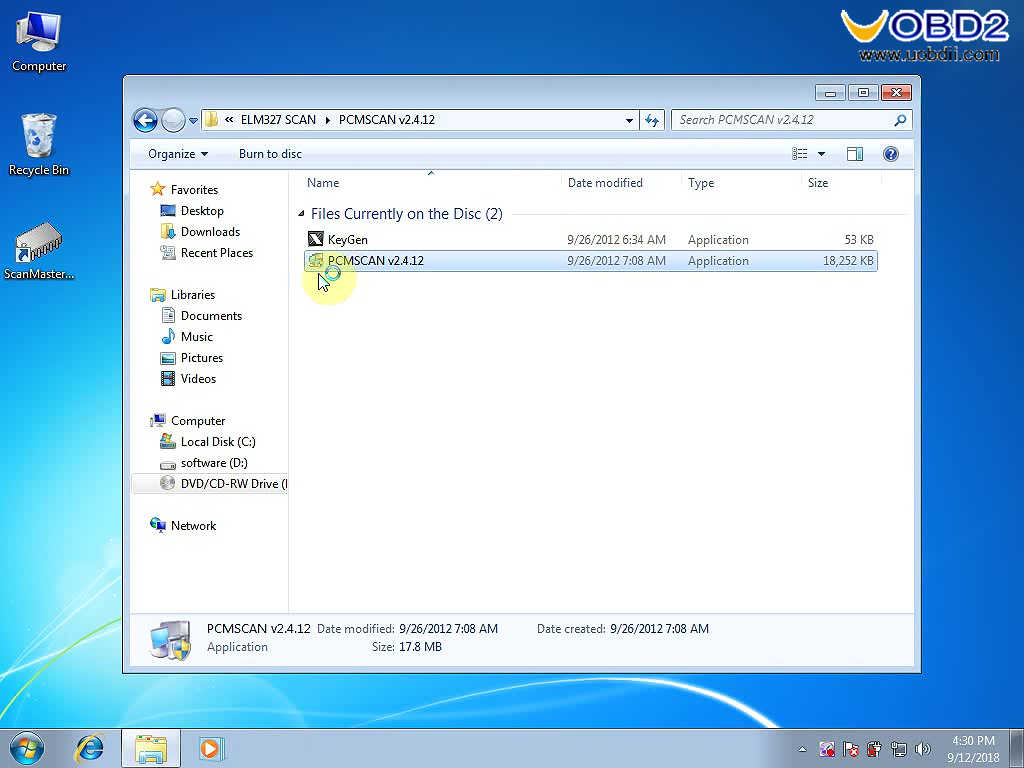
Send the PCMSCAN to the desktop.
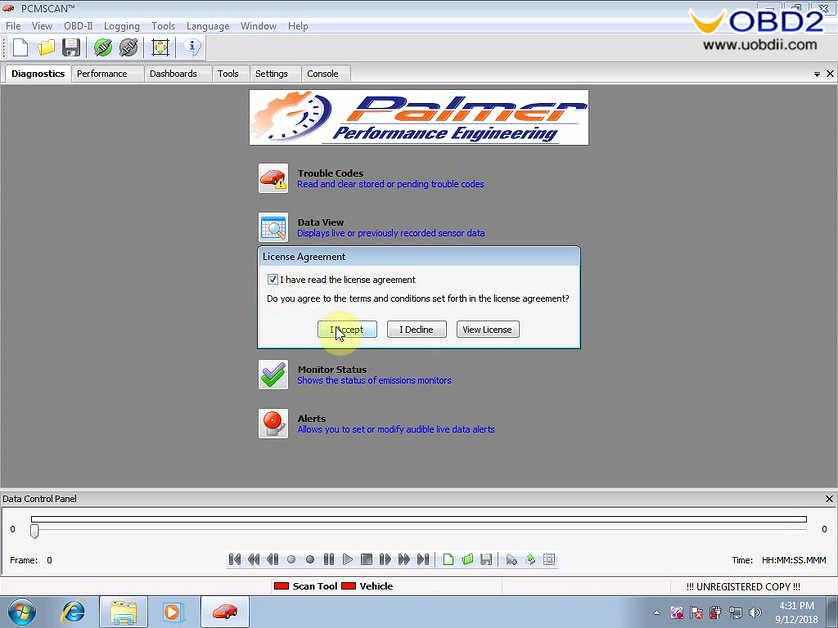
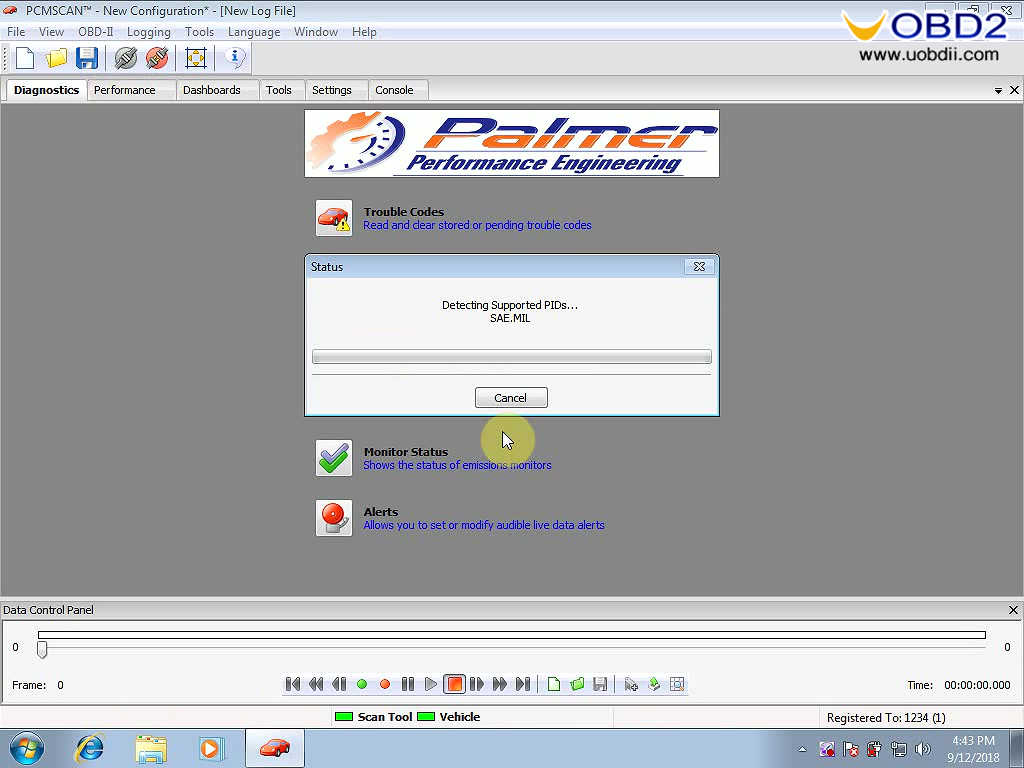
Open “PCMSCAN”.
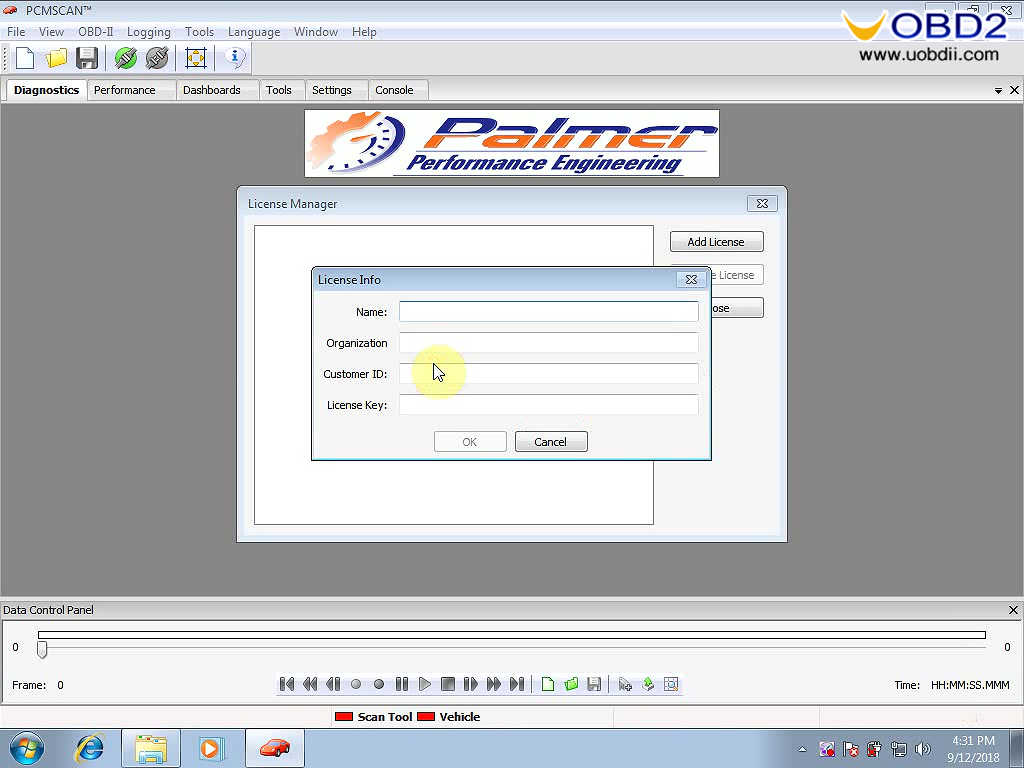
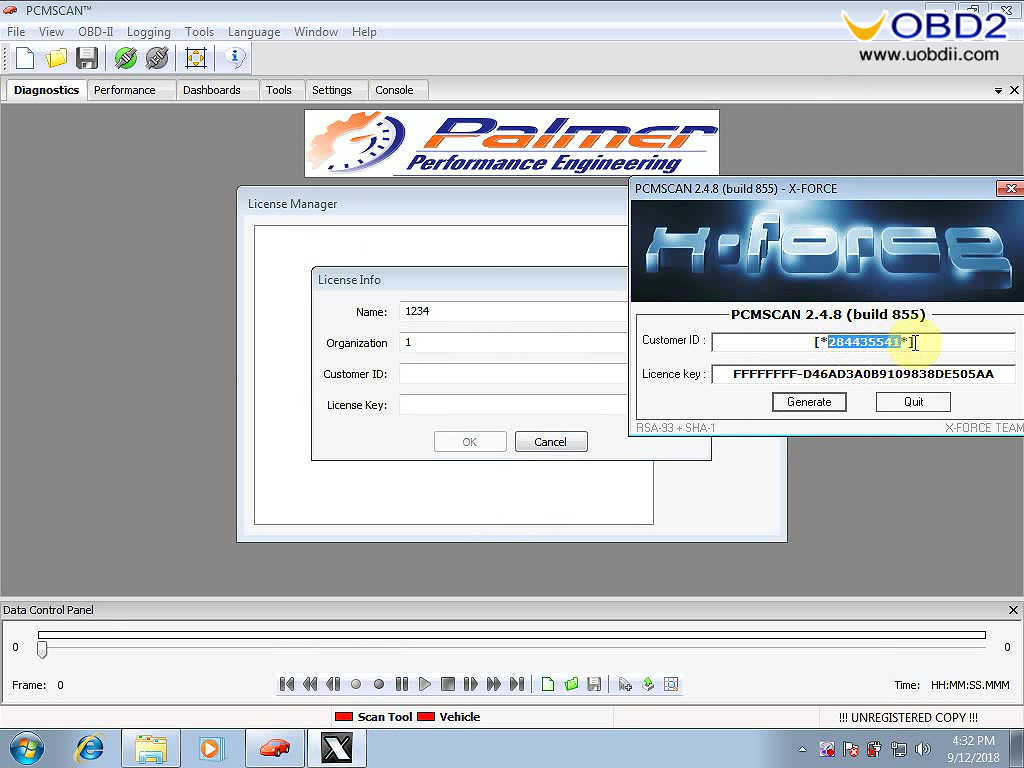
Input registration code.
Use the keygen generate customer ID and License key.
Step 3: Set up FVDI J2534 Ford
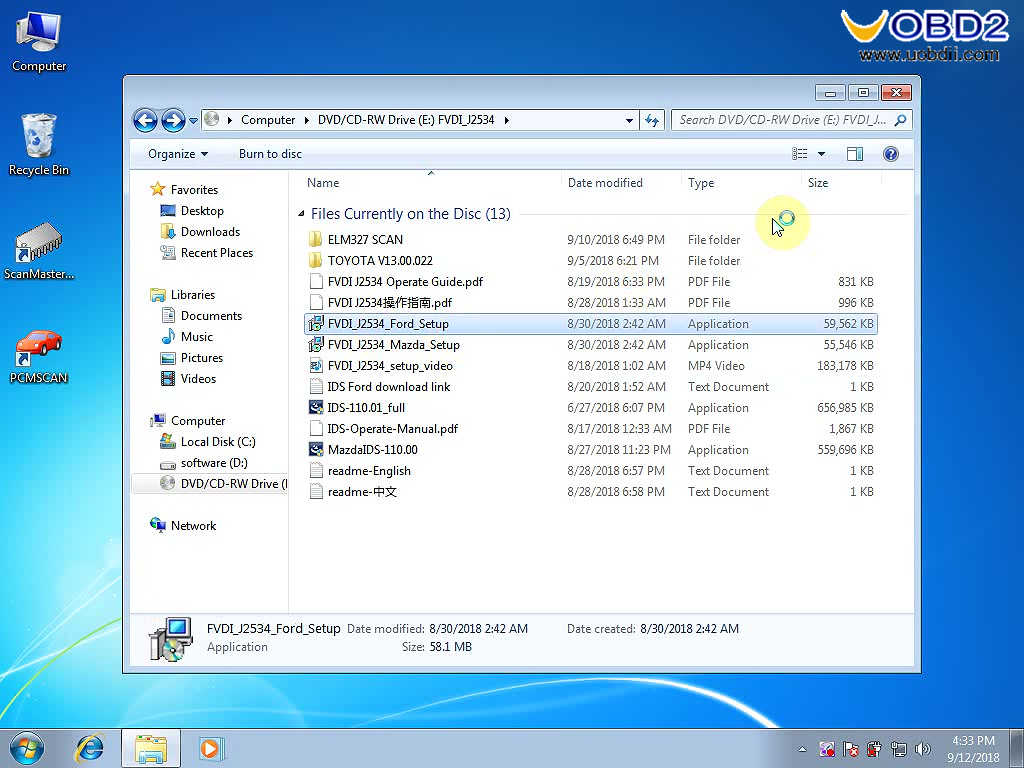
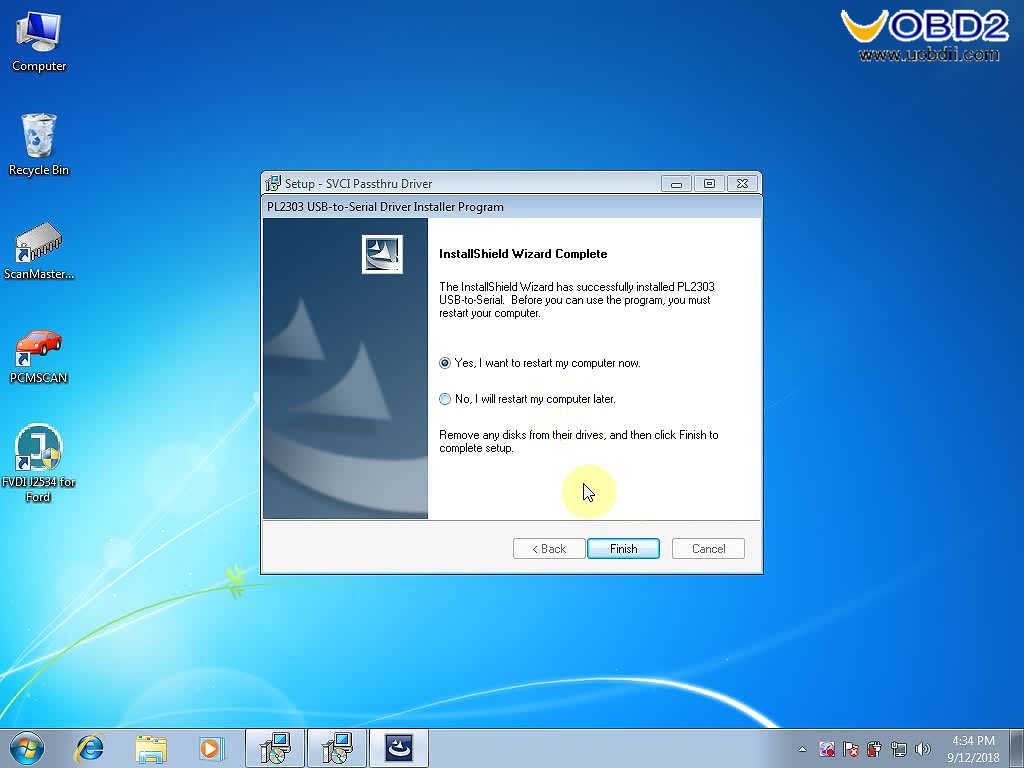
Back to open ” FVDI_J2534_Ford_Setup”, follow the instruction to set up until Install Shield Wizard Complete.
Delete FVDI J2534 for Ford.
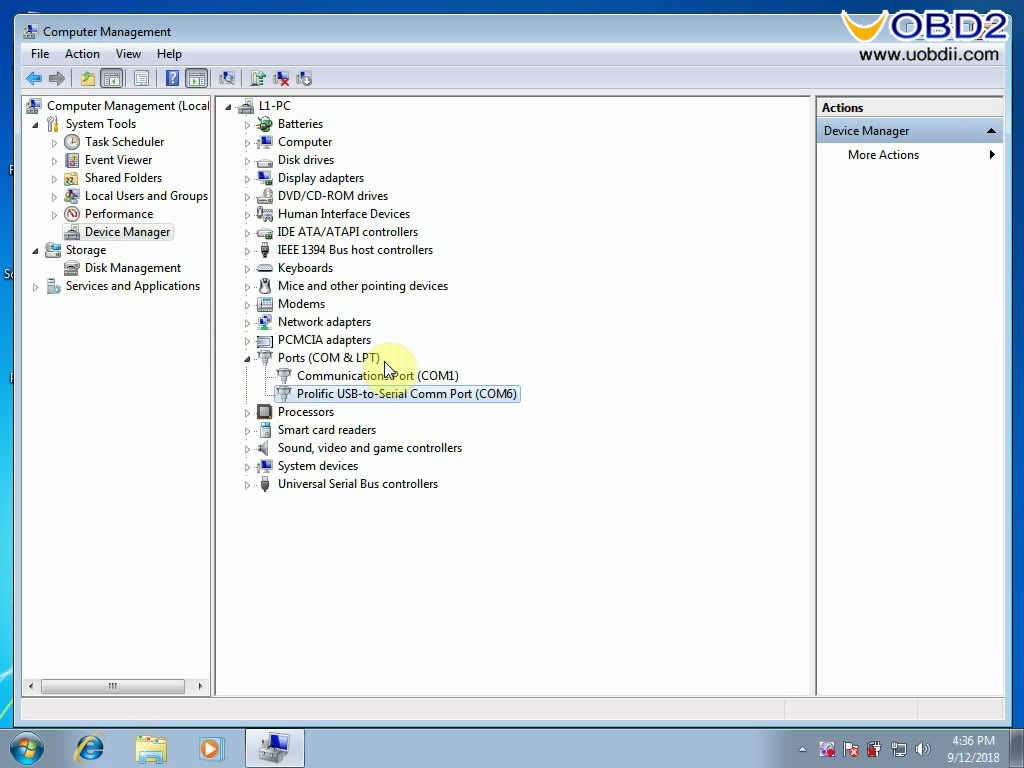
Right click “Computer”, then “Device Manager” then “…COM6”.
Step 4: Use ScanMaster-ELM to diagnose.
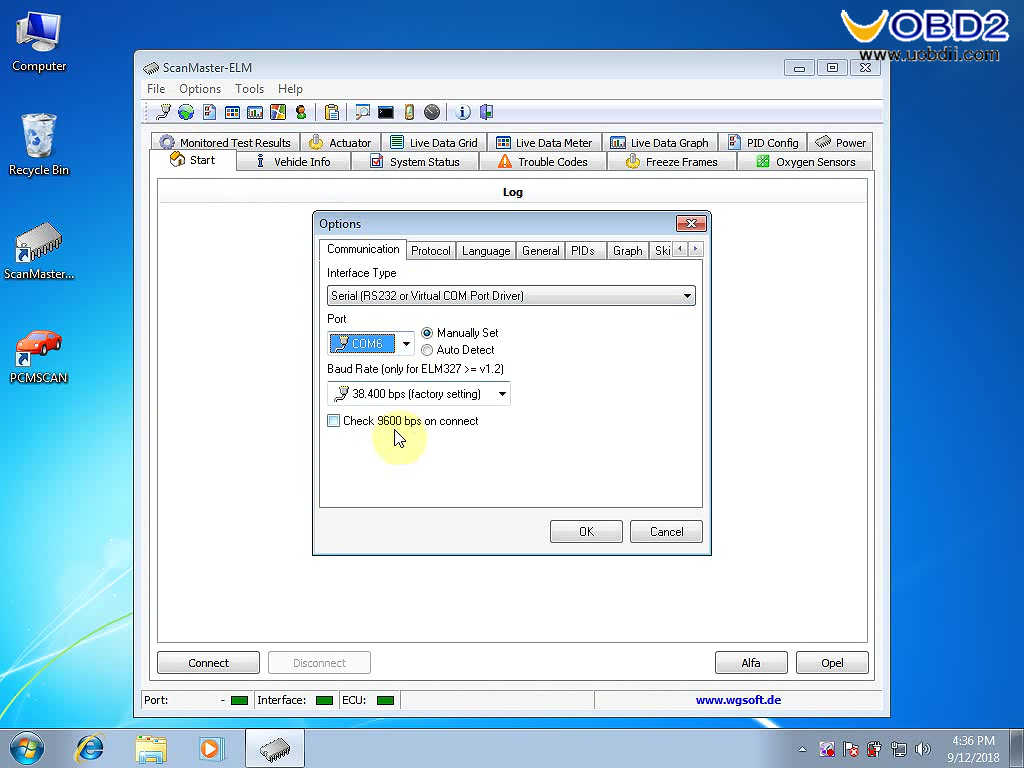
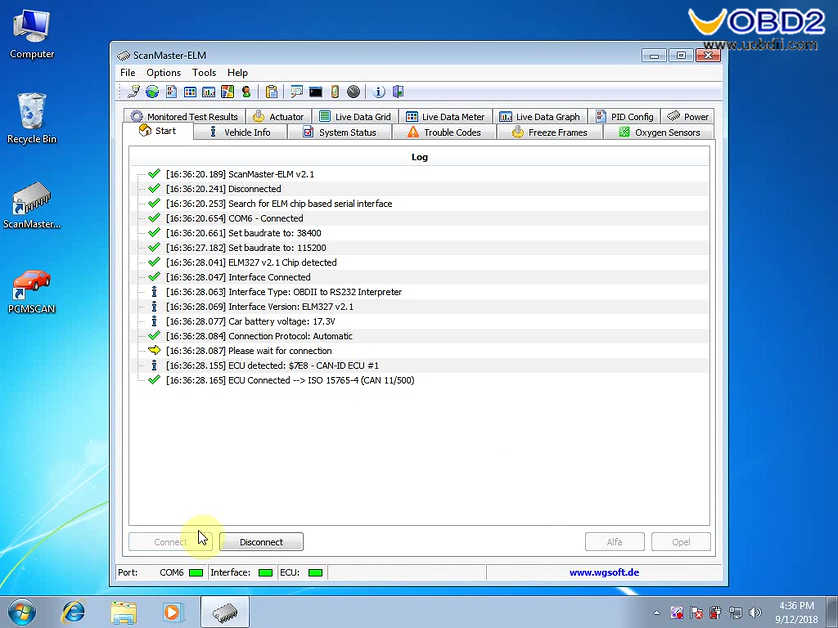
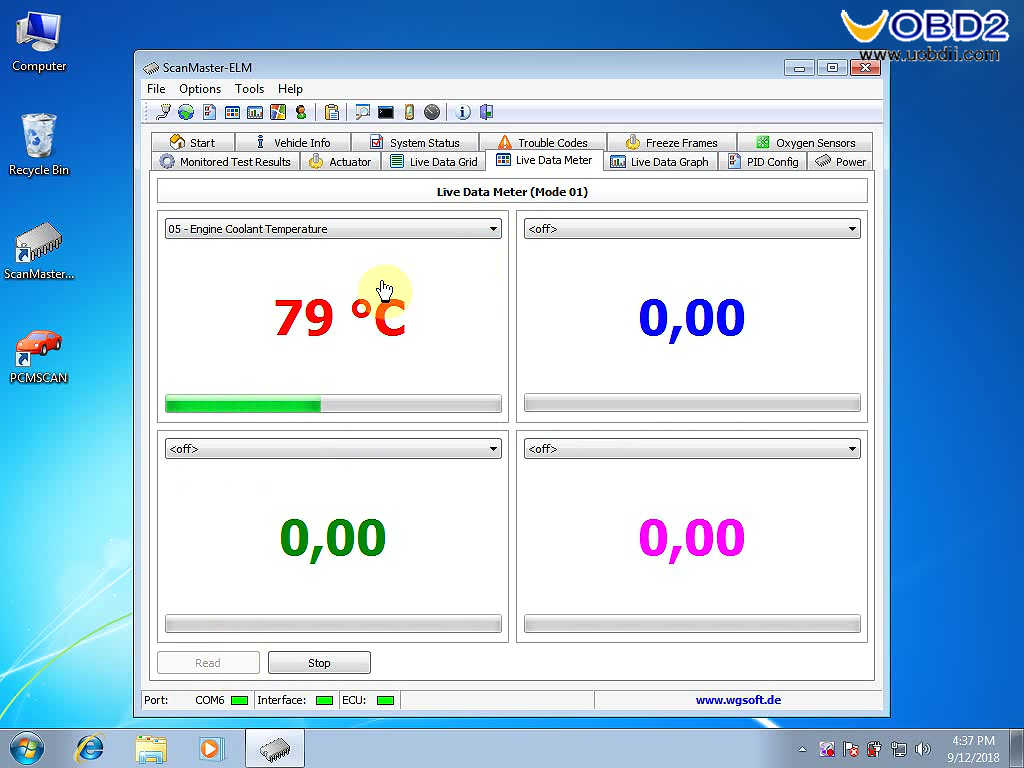
Open “ScanMaster-ELM”, choose “Options”, then Com6.
Click on “Start” then “Connect”.
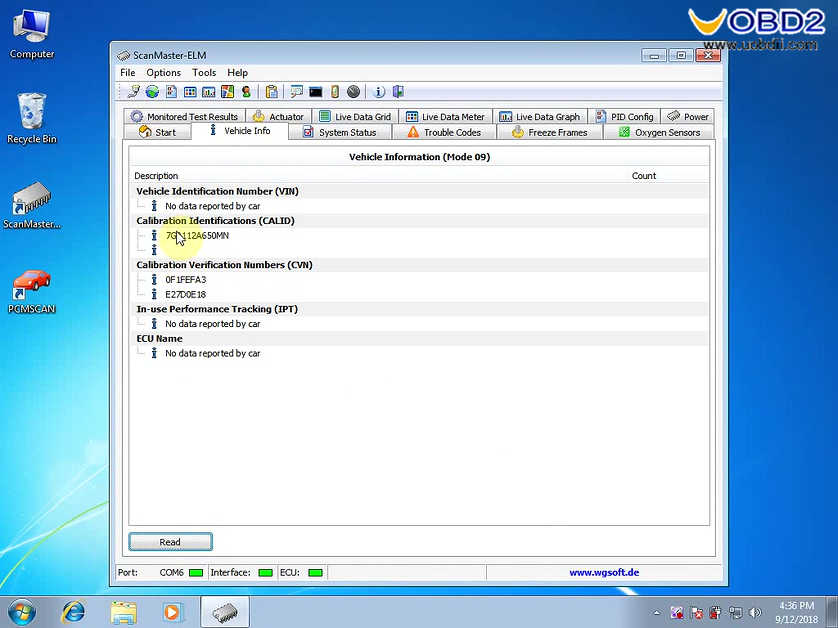
Vehicle Info.
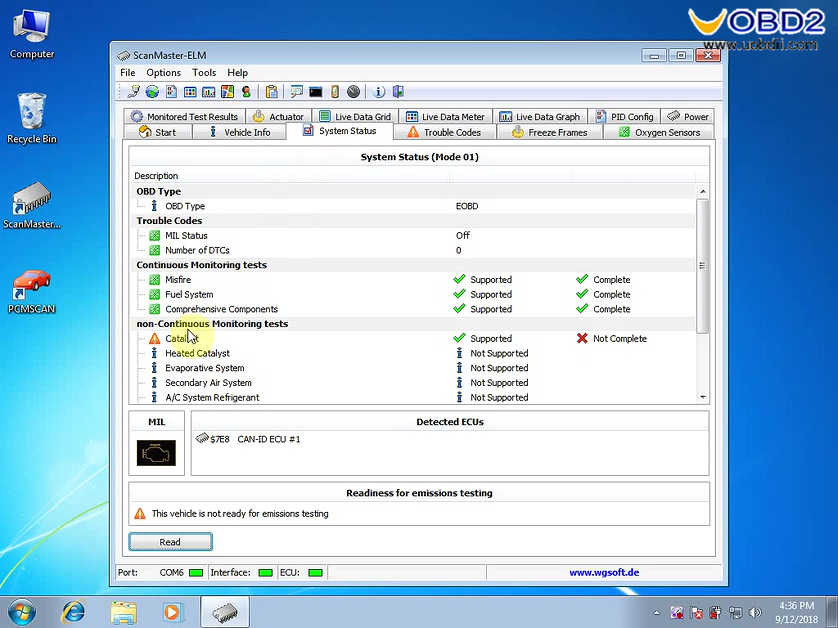
System Status
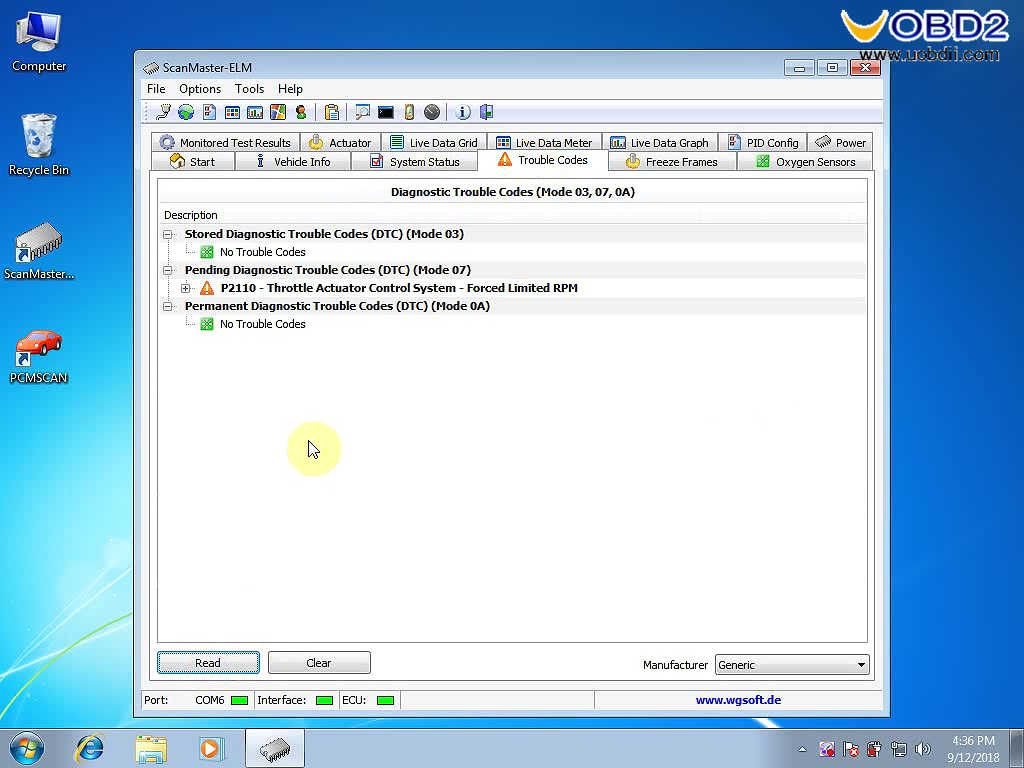
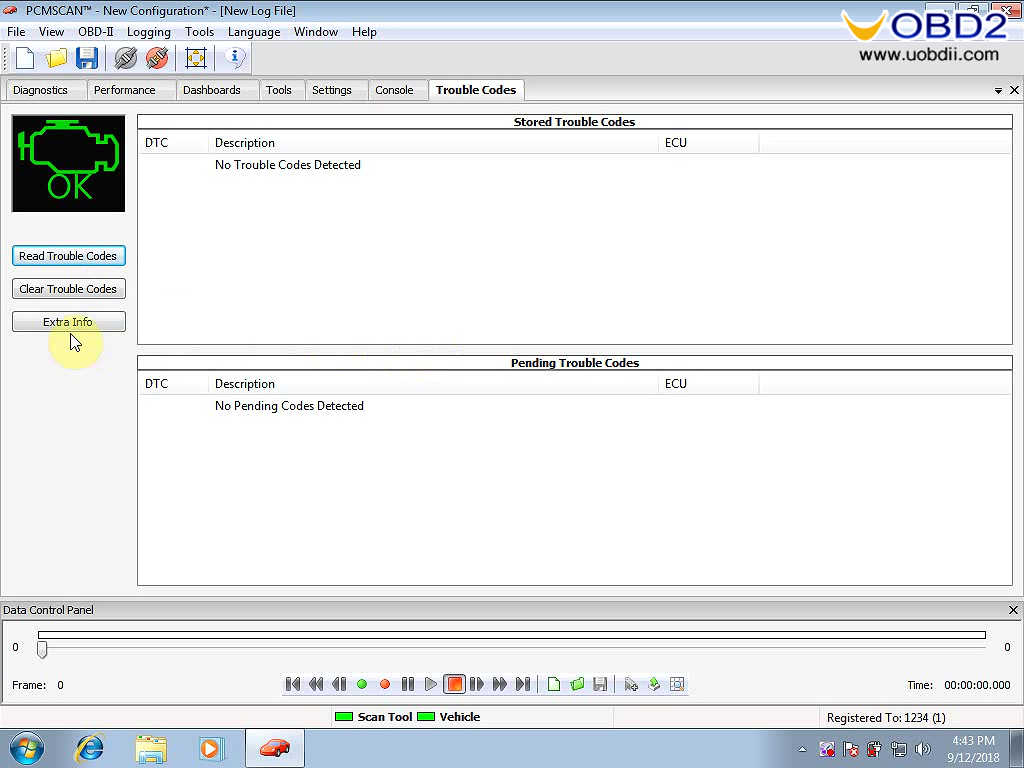
Trouble codes
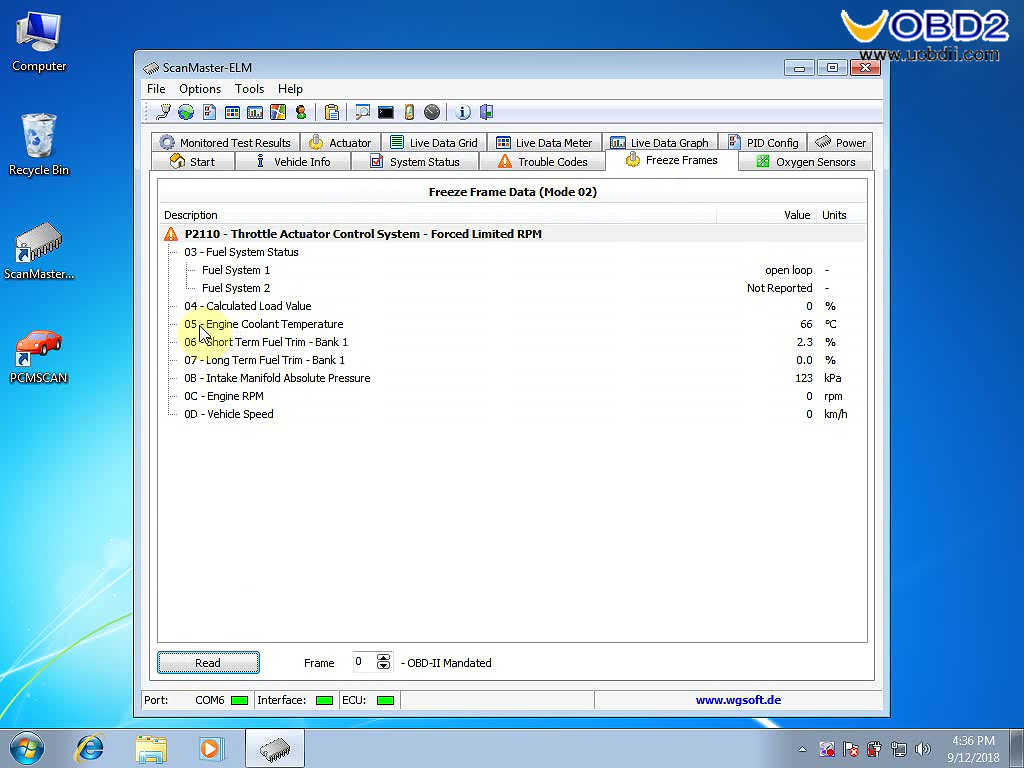
Freeze Frames
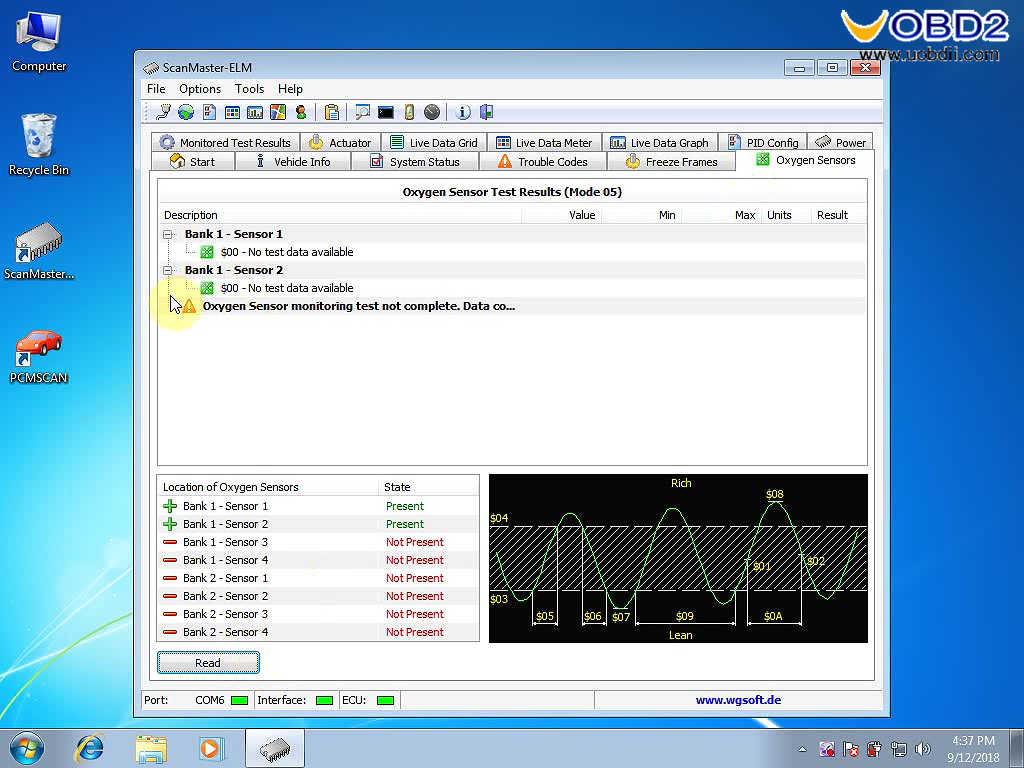
Oxgen Sensor
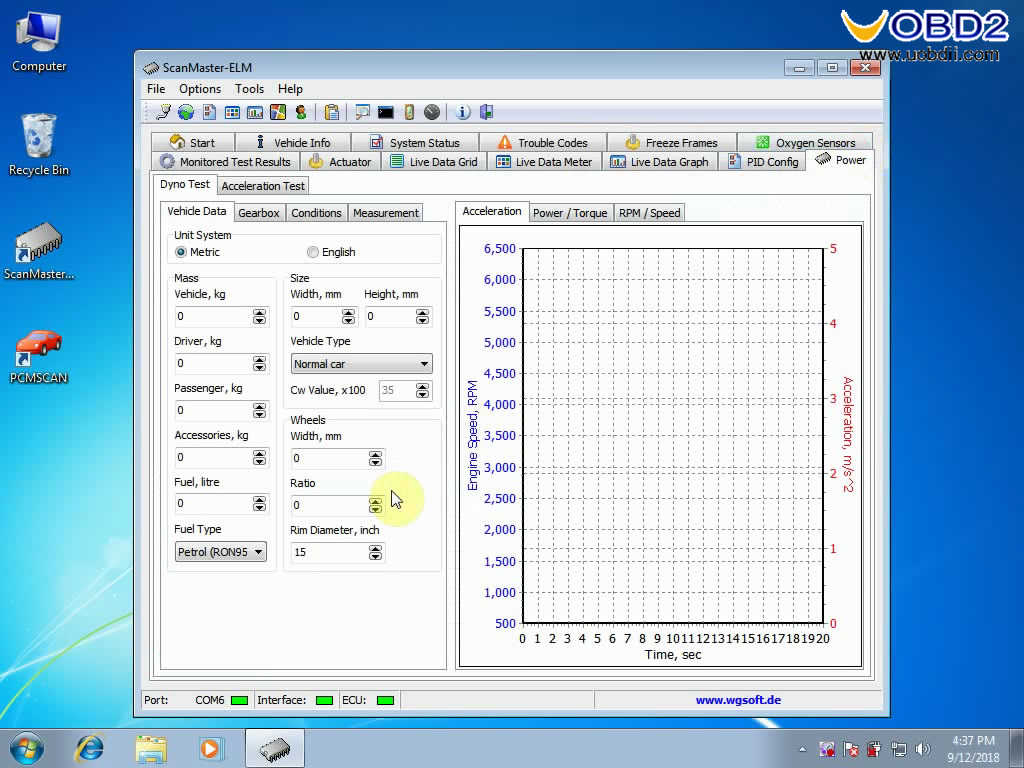
Power
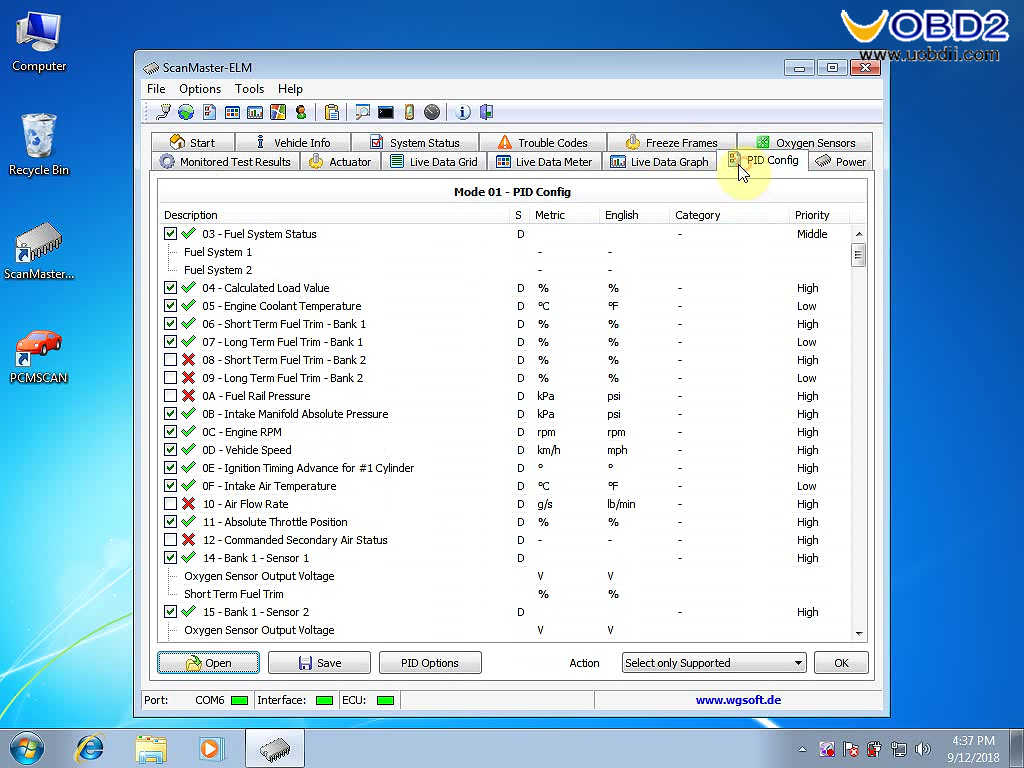
PID config
Live Data Graph
Live data meter
Live data Grid
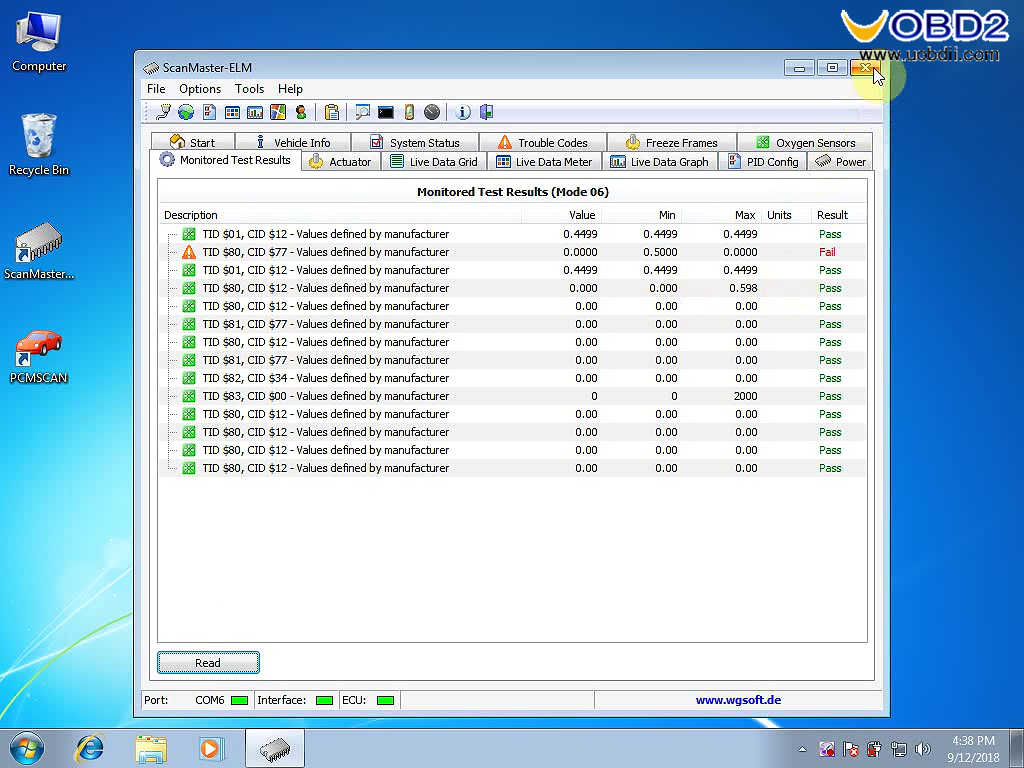
Monitored test results.
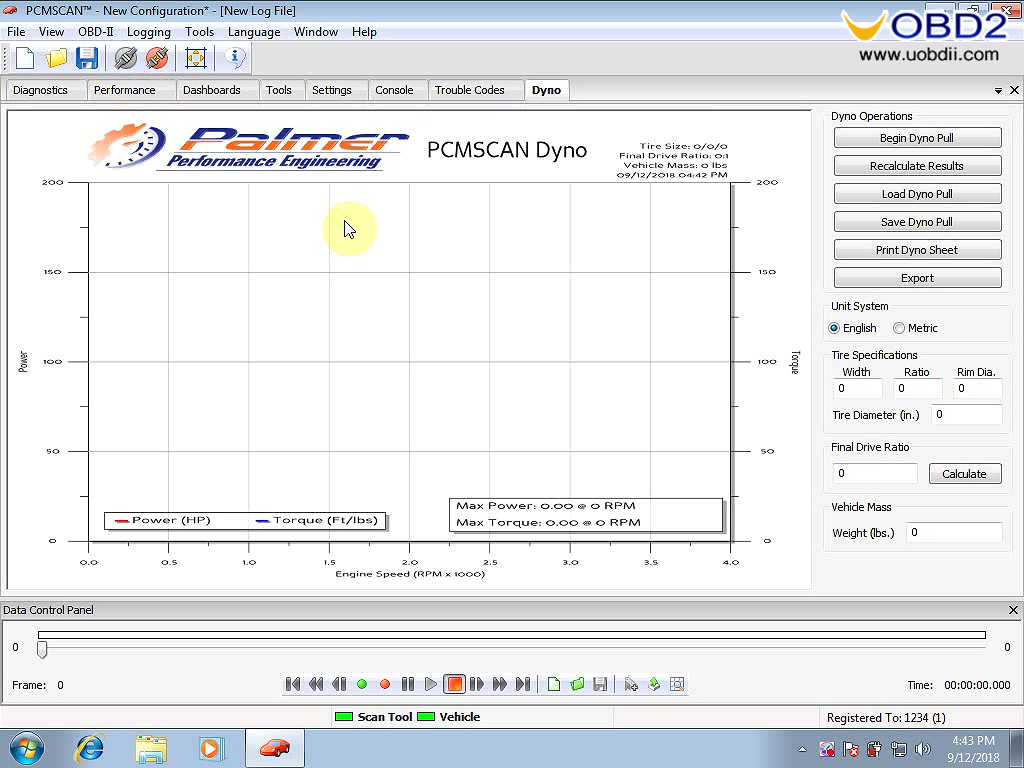
Step 5: Open PCMscan to diagnose.
Go on……

